
Logos
Every brand logo gets its own page in the manual, where visitors see it on the right background, check its clear space and minimum size, and download it. Here’s how to create and fill in that page.
What you will have
A new logo card appears on the Logos page. When visitors click it, they see the logo on light and dark backgrounds and can download it for screen and for print.
Steps
Add a logo to the Logos page
In the panel, open the page of type Logos. The left column lists Logos on this page – click Add, enter a name such as “Primary logo” or “Symbol”, and confirm. Each logo is a separate page with its own card.
Choose the background mode
If the logo has two versions (say a dark one and a reversed white one), set Logo background mode to Light / Dark background. If one version works everywhere, choose Universal background. The fields that follow depend on your choice.
Upload the logo as SVG
Upload the vector files to Logo on a light background (SVG) and Logo on a dark background (SVG). Use Light background of the logo and Dark background of the logo to set the color of the surface the logo sits on – the quick picks are the brand colors from Design. Universal mode has only Logo for universal background (SVG) and Universal background color.
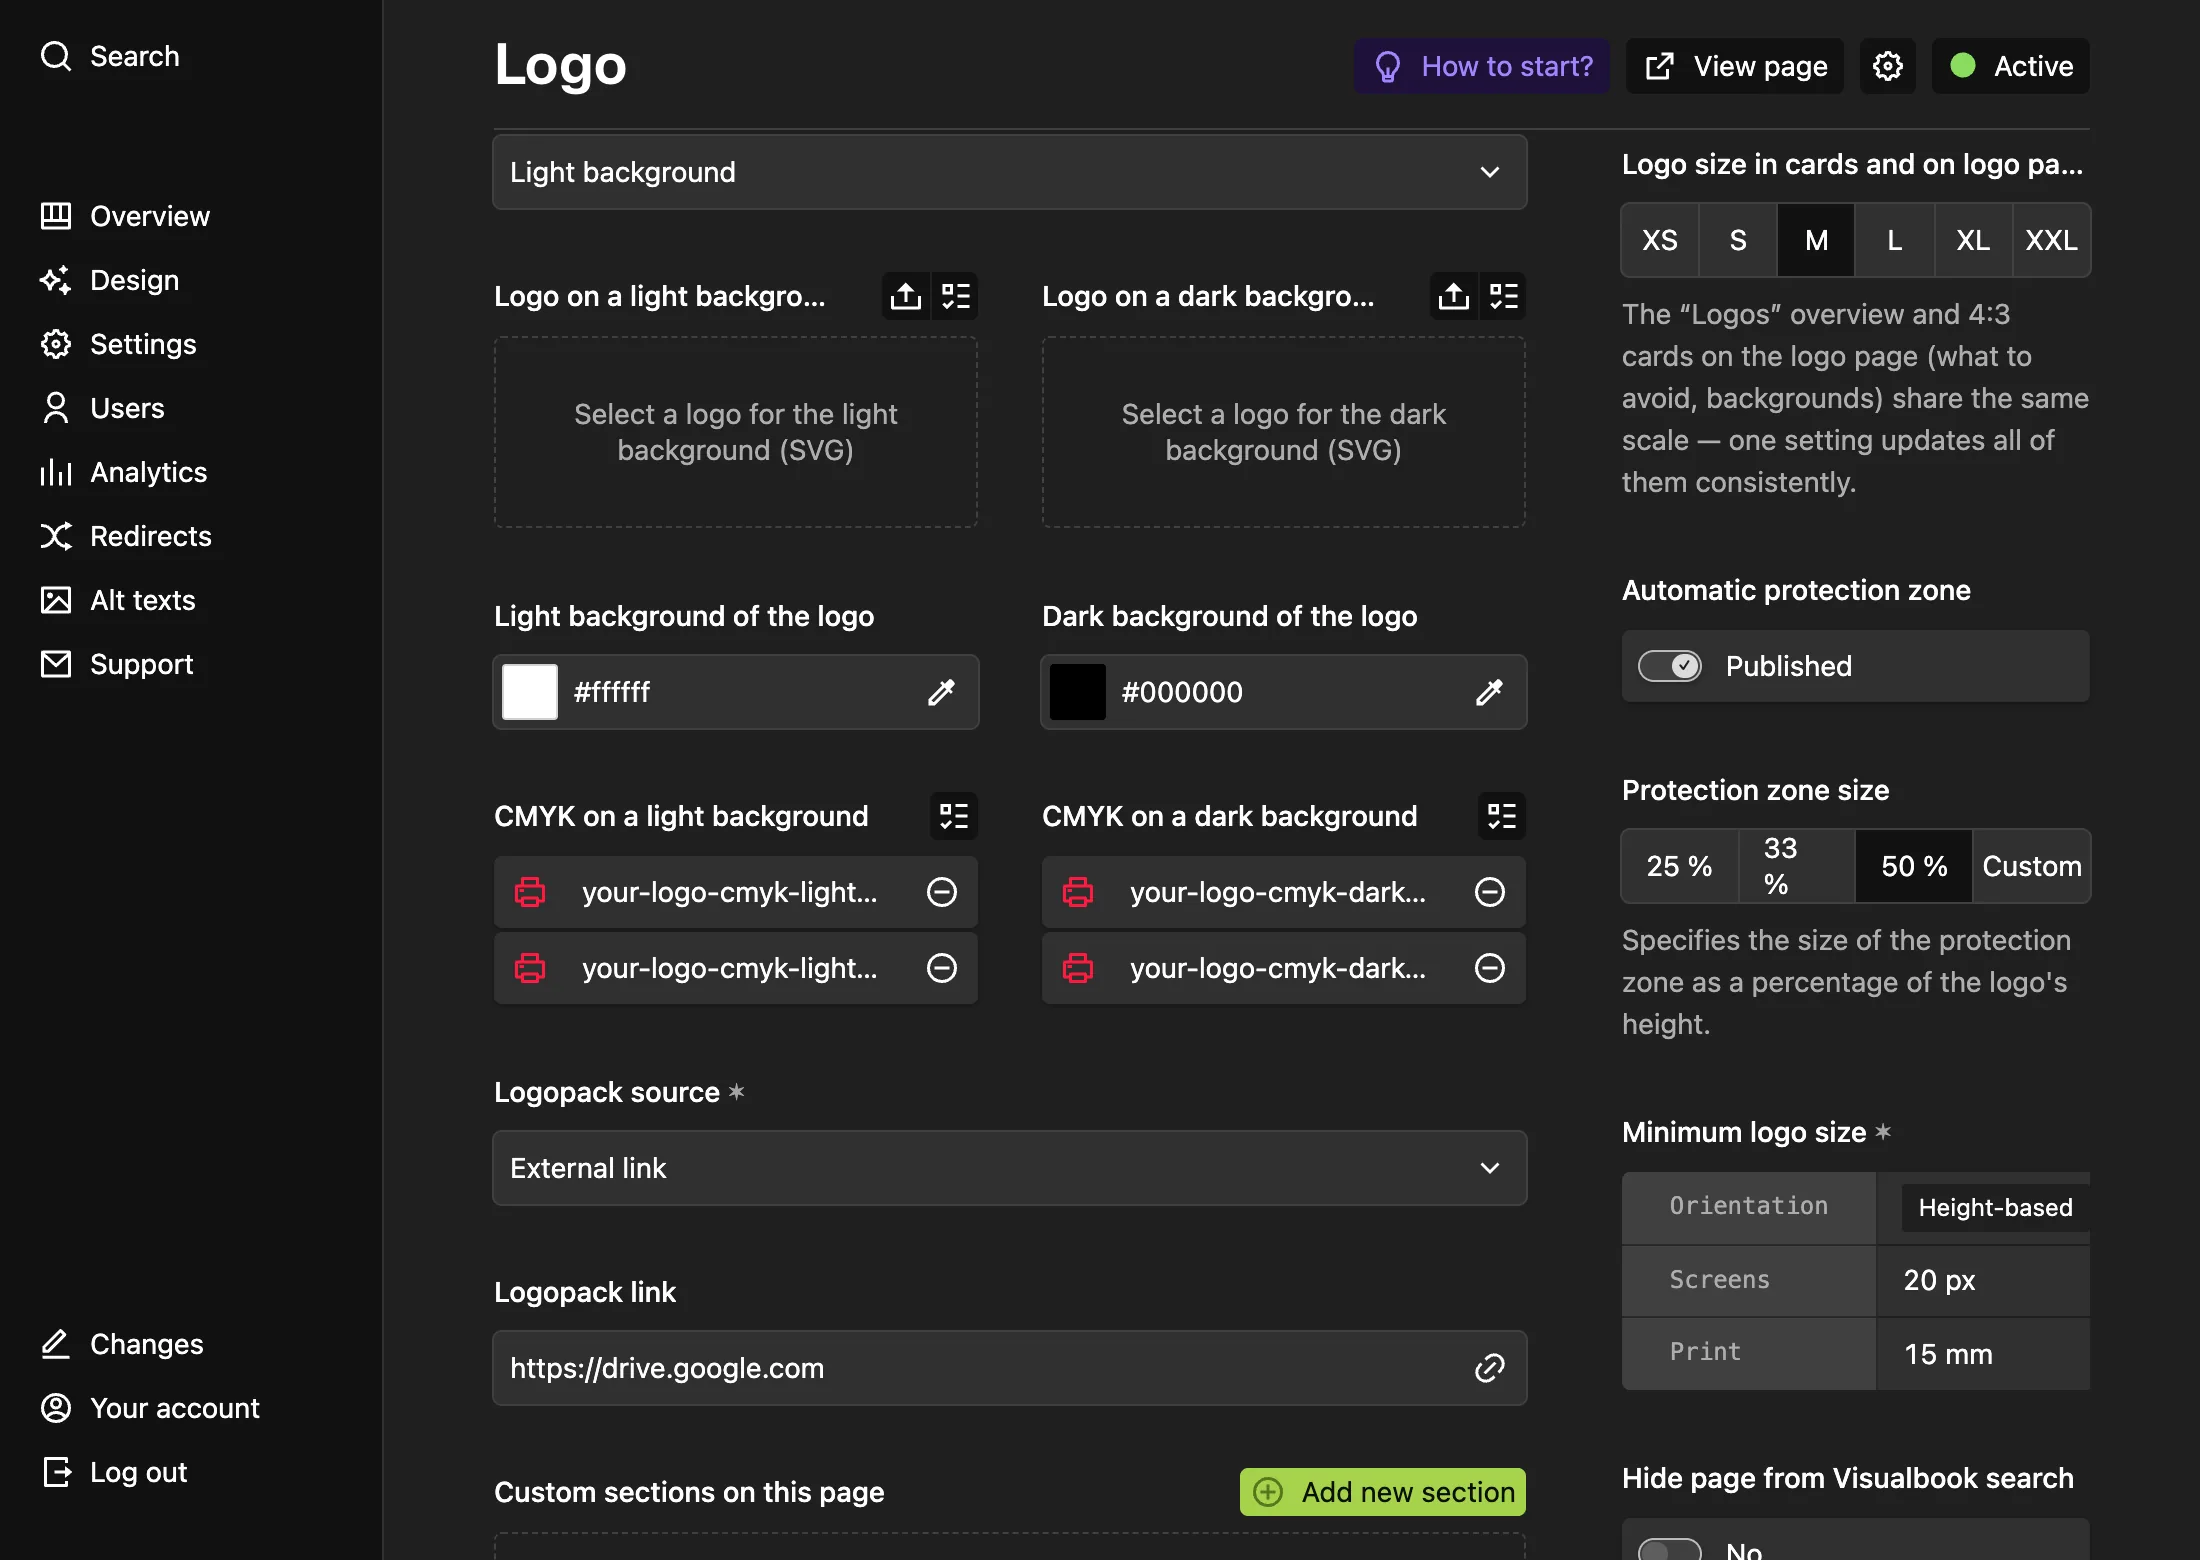
Pick the SVG with Upload; Visualbook uploads it right away and shows it on the background color you set. Add the print files
Upload the print version of the logo to CMYK on a light background and CMYK on a dark background as PDF, EPS or both (up to two files per version). Without them, visitors won’t see a print version on the page.
Set the clear space and minimum size
In the right column, leave Automatic protection zone on and set Protection zone size to 25, 33 or 50 % of the logo height, or to Custom (1–100 %). Under Minimum logo size, choose Height-based or Width-based and fill in Screens in px and Print in mm. Both values are required.
Add a logo pack
Under Logopack source, choose File download and upload a Logo pack (.ZIP) with every version of the logo, or choose External link and paste the address where the pack is stored. An All versions button then appears on the page.
Save and publish
Save your changes. With the Active status, the logo is publicly visible on the Logos page. Draft hides it – it can then be opened only through a secret link.
How to tell it worked
Open the Logos page in the manual. The logo card shows the uploaded SVG; click it to see the Light background and Dark background tabs, the clear space, the minimum size and the download buttons.
Light / dark, or universal background?
| Mode | When to use it | What you upload |
|---|---|---|
| Light / Dark background | The logo has one version for light surfaces and one for dark. | Two SVGs, two background colors, print files for each version. |
| Universal background | One version works everywhere – typically a colored symbol or a logo on its own background plate. | One SVG, one background color, one set of print files. |
In Light / Dark background mode, First (active) tab of this logo sets which version opens first. If you choose Dark background, the Show logo on a dark background in the logo portal? switch appears – turn it on and the card on the Logos page shows the dark-background version.
With two versions, visitors switch between tabs. In Universal background mode there is one version and no tabs.
What happens to the SVG on upload
- Scripts and links that don’t belong in a logo are stripped out. The upload isn’t rejected for that – the cleaned SVG is saved.
- An SVG with an embedded raster image (a PNG wrapped in SVG) is rejected. Upload real vectors – paths or text.
- The logo must be cropped tightly to the artwork. If it has empty margin on all four sides, the upload is rejected – Visualbook draws the clear space itself.
- The SVG’s dimensions are normalized from its
viewBox, so the logo scales the same way everywhere.
Logos page layout and card
The Logos page is the directory of all logos. In Layout of the logos page, keep Generate automatically and set Logos per row to 2 or 3. To split the logos, for example into “Master brand” and “Products”, choose Divide logos into groups. Then, in Logo groups on the page, give each group a name and a description and pick its logos.
Logo size in the cards and on the logo page is set for each logo in Logo size in cards and on logo page (XS–XXL). The Logos page’s own card on the home page is set in Thumbnail image for the card: Logos (a slideshow of the uploaded logos), Image or Animation. More in Home page cards.