Logo usage rules
Show with concrete examples what must never be done to the logo and which colors and photos it may appear on. You set the rules for each logo separately, and the manual turns them into galleries.
What you will have
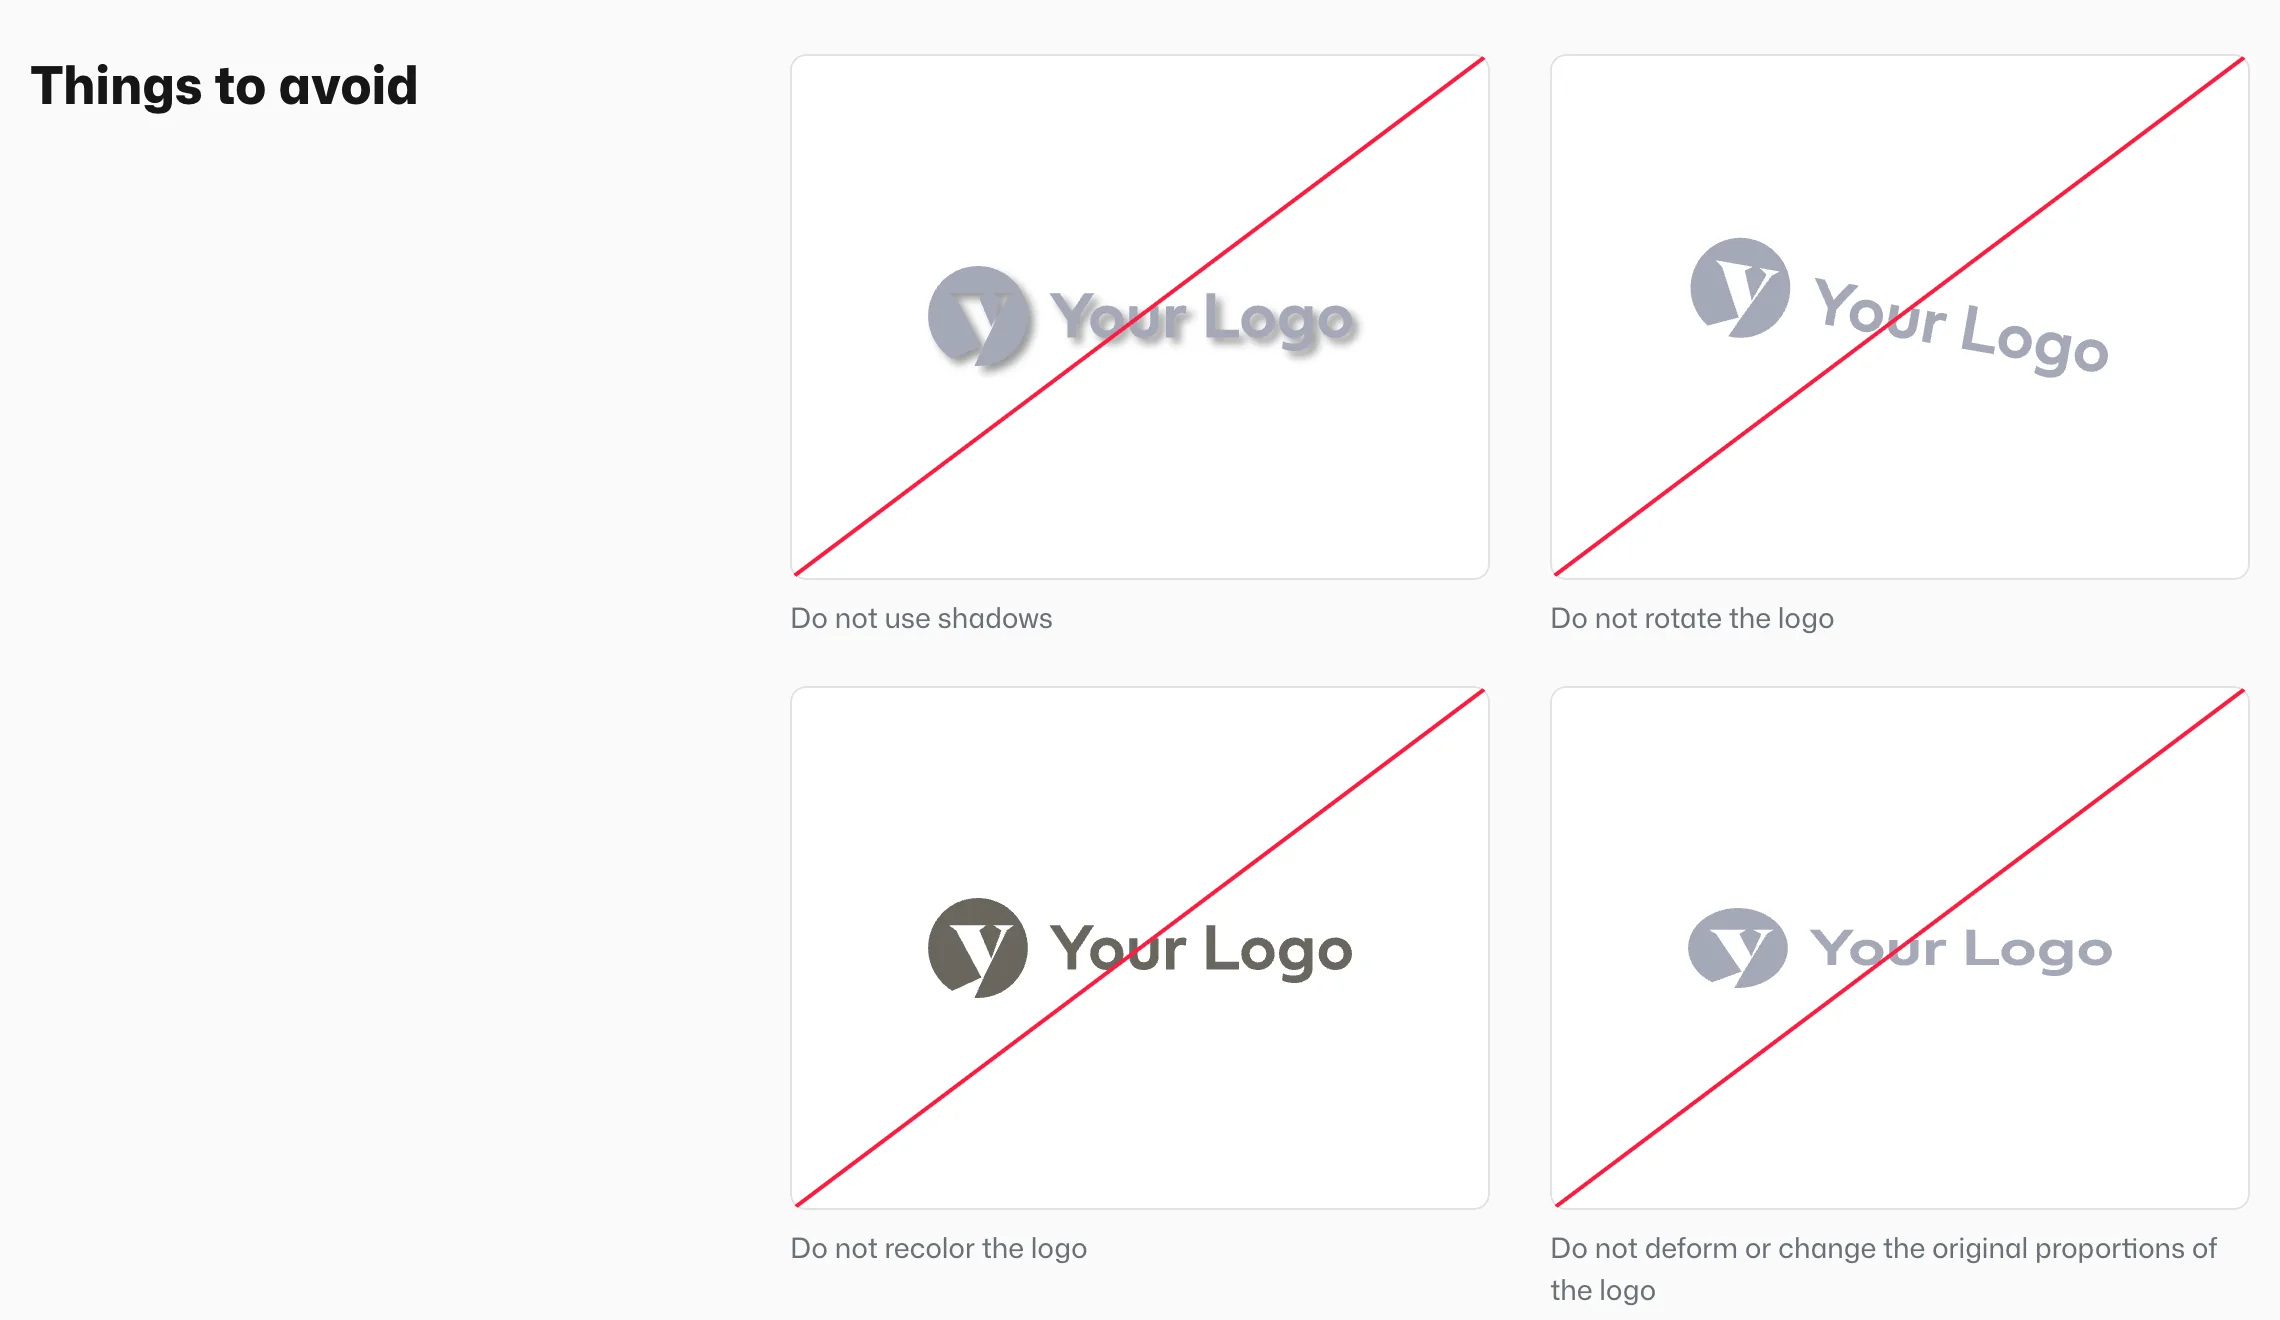
Up to three galleries appear below the logo in the manual: Things to avoid, Logo on a colored background and Logo on an image background. Each example is either crossed out or marked as allowed.
Steps
Open the rules tab
In the panel, open the logo page and switch to the Logo usage rules tab. The main logo must already be uploaded on the Content tab, because the examples are drawn from it.
Pick the things to avoid
Select rules offers four ready-made rules: Do not use shadows, Do not rotate the logo, Do not recolor the logo and Do not deform or change the original proportions of the logo. On a new page, all four are selected and the examples are drawn from your logo automatically. To change the color of the cross, use Strikethrough color in "Things to avoid" section.
Add your own don’ts
For cases the ready-made rules don’t cover (say, “Don’t put the logo in a frame”), use Custom rules to avoid. For each rule, upload an SVG showing the mistake and fill in Description of this rule.
Set up colored backgrounds
In List of logo background options, add a row for each color you want to show. In each row, pick the Logo file and the Logo background color, and set Is it allowed to use this logo on this background? to Allowed or Not allowed. What type of logo is this? tells visitors which logo version to download for that background.
Set up photo backgrounds
Under Logo on an image background, add rows and pick a Background image and a logo file in each. Darken or lighten the photo with the Brightness / Darkness of the photo slider (100 is the original, range 0–300), and tint it with Background image overlay color and Overlay intensity (0–100).
Save and check the manual
Save the page. The panel shows live previews of the galleries, but check the final result in the manual.
How to tell it worked
Open the logo page in the manual. Below the download buttons you see the rule galleries. Forbidden examples are crossed out; allowed ones have a green icon.
When the galleries appear
- Things to avoid – when at least one ready-made rule is selected or at least one custom rule is added.
- Logo on a colored background – when the list has at least one colored background.
- Logo on an image background – when the list has at least one photo.
Each gallery has a Description of this section field for a short intro, for example “Place the logo only on calm areas of a photo.”
Copying rules from another logo
If several logos share the same rules, you don’t have to enter them again. In the right column of the tab, click Import logo rules, choose the Source logo page and confirm with Import rules.
Clear space and minimum size
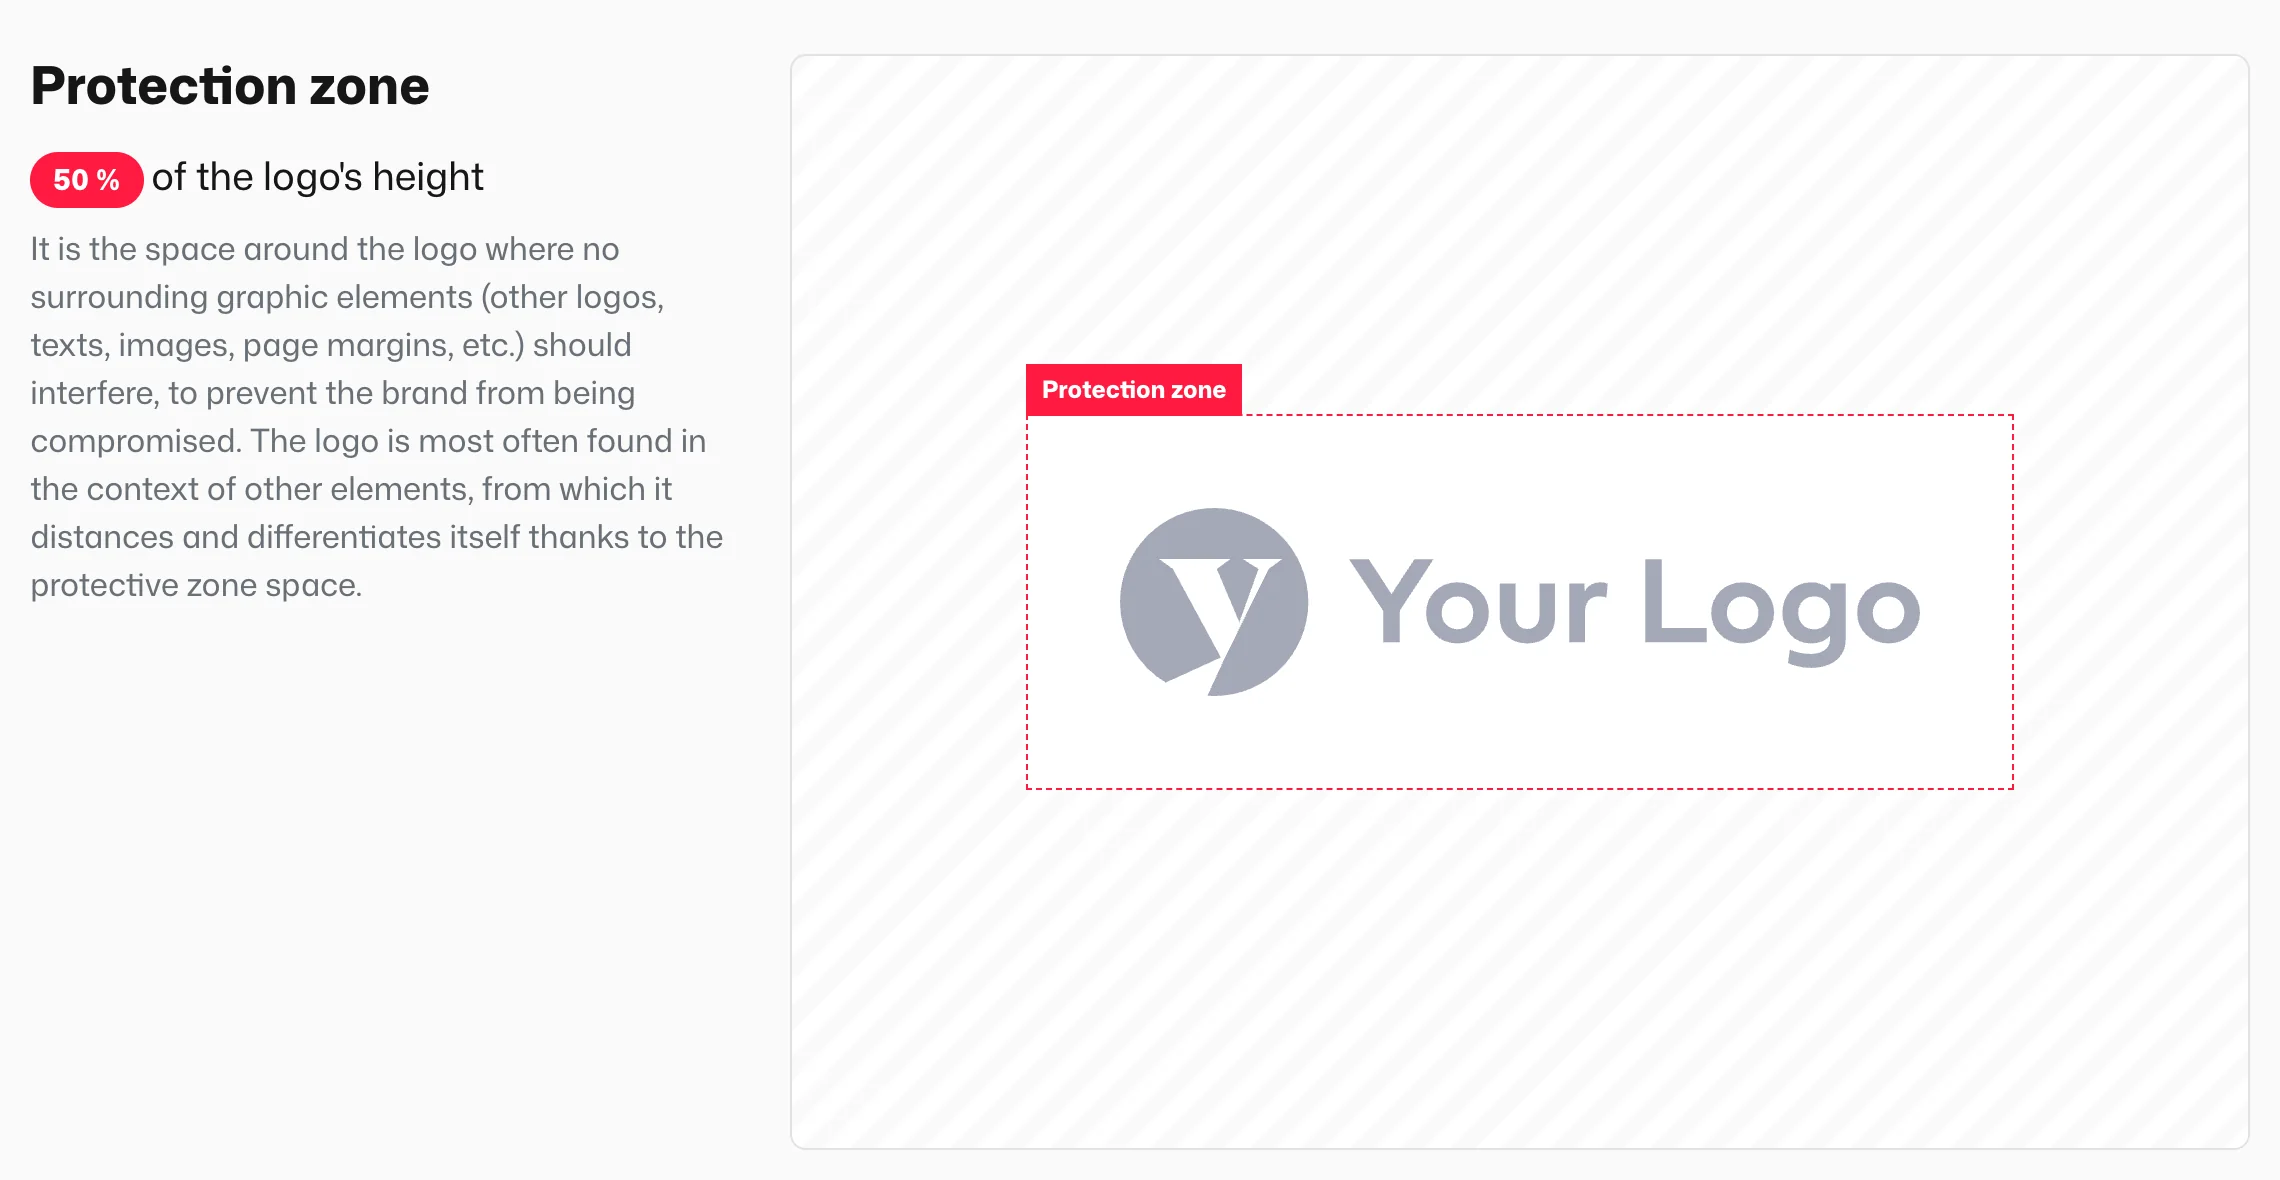
Clear space and minimum size are rules too, but they’re set on the Content tab, because Visualbook shows them right next to the logo and also applies them to the downloadable PNG. See Logos.