
Fonts
The Fonts page presents the brand’s typefaces to visitors: a sample, font info, the character set, a tester and a download button. Here’s how to upload a font file or connect a font from Adobe Fonts.
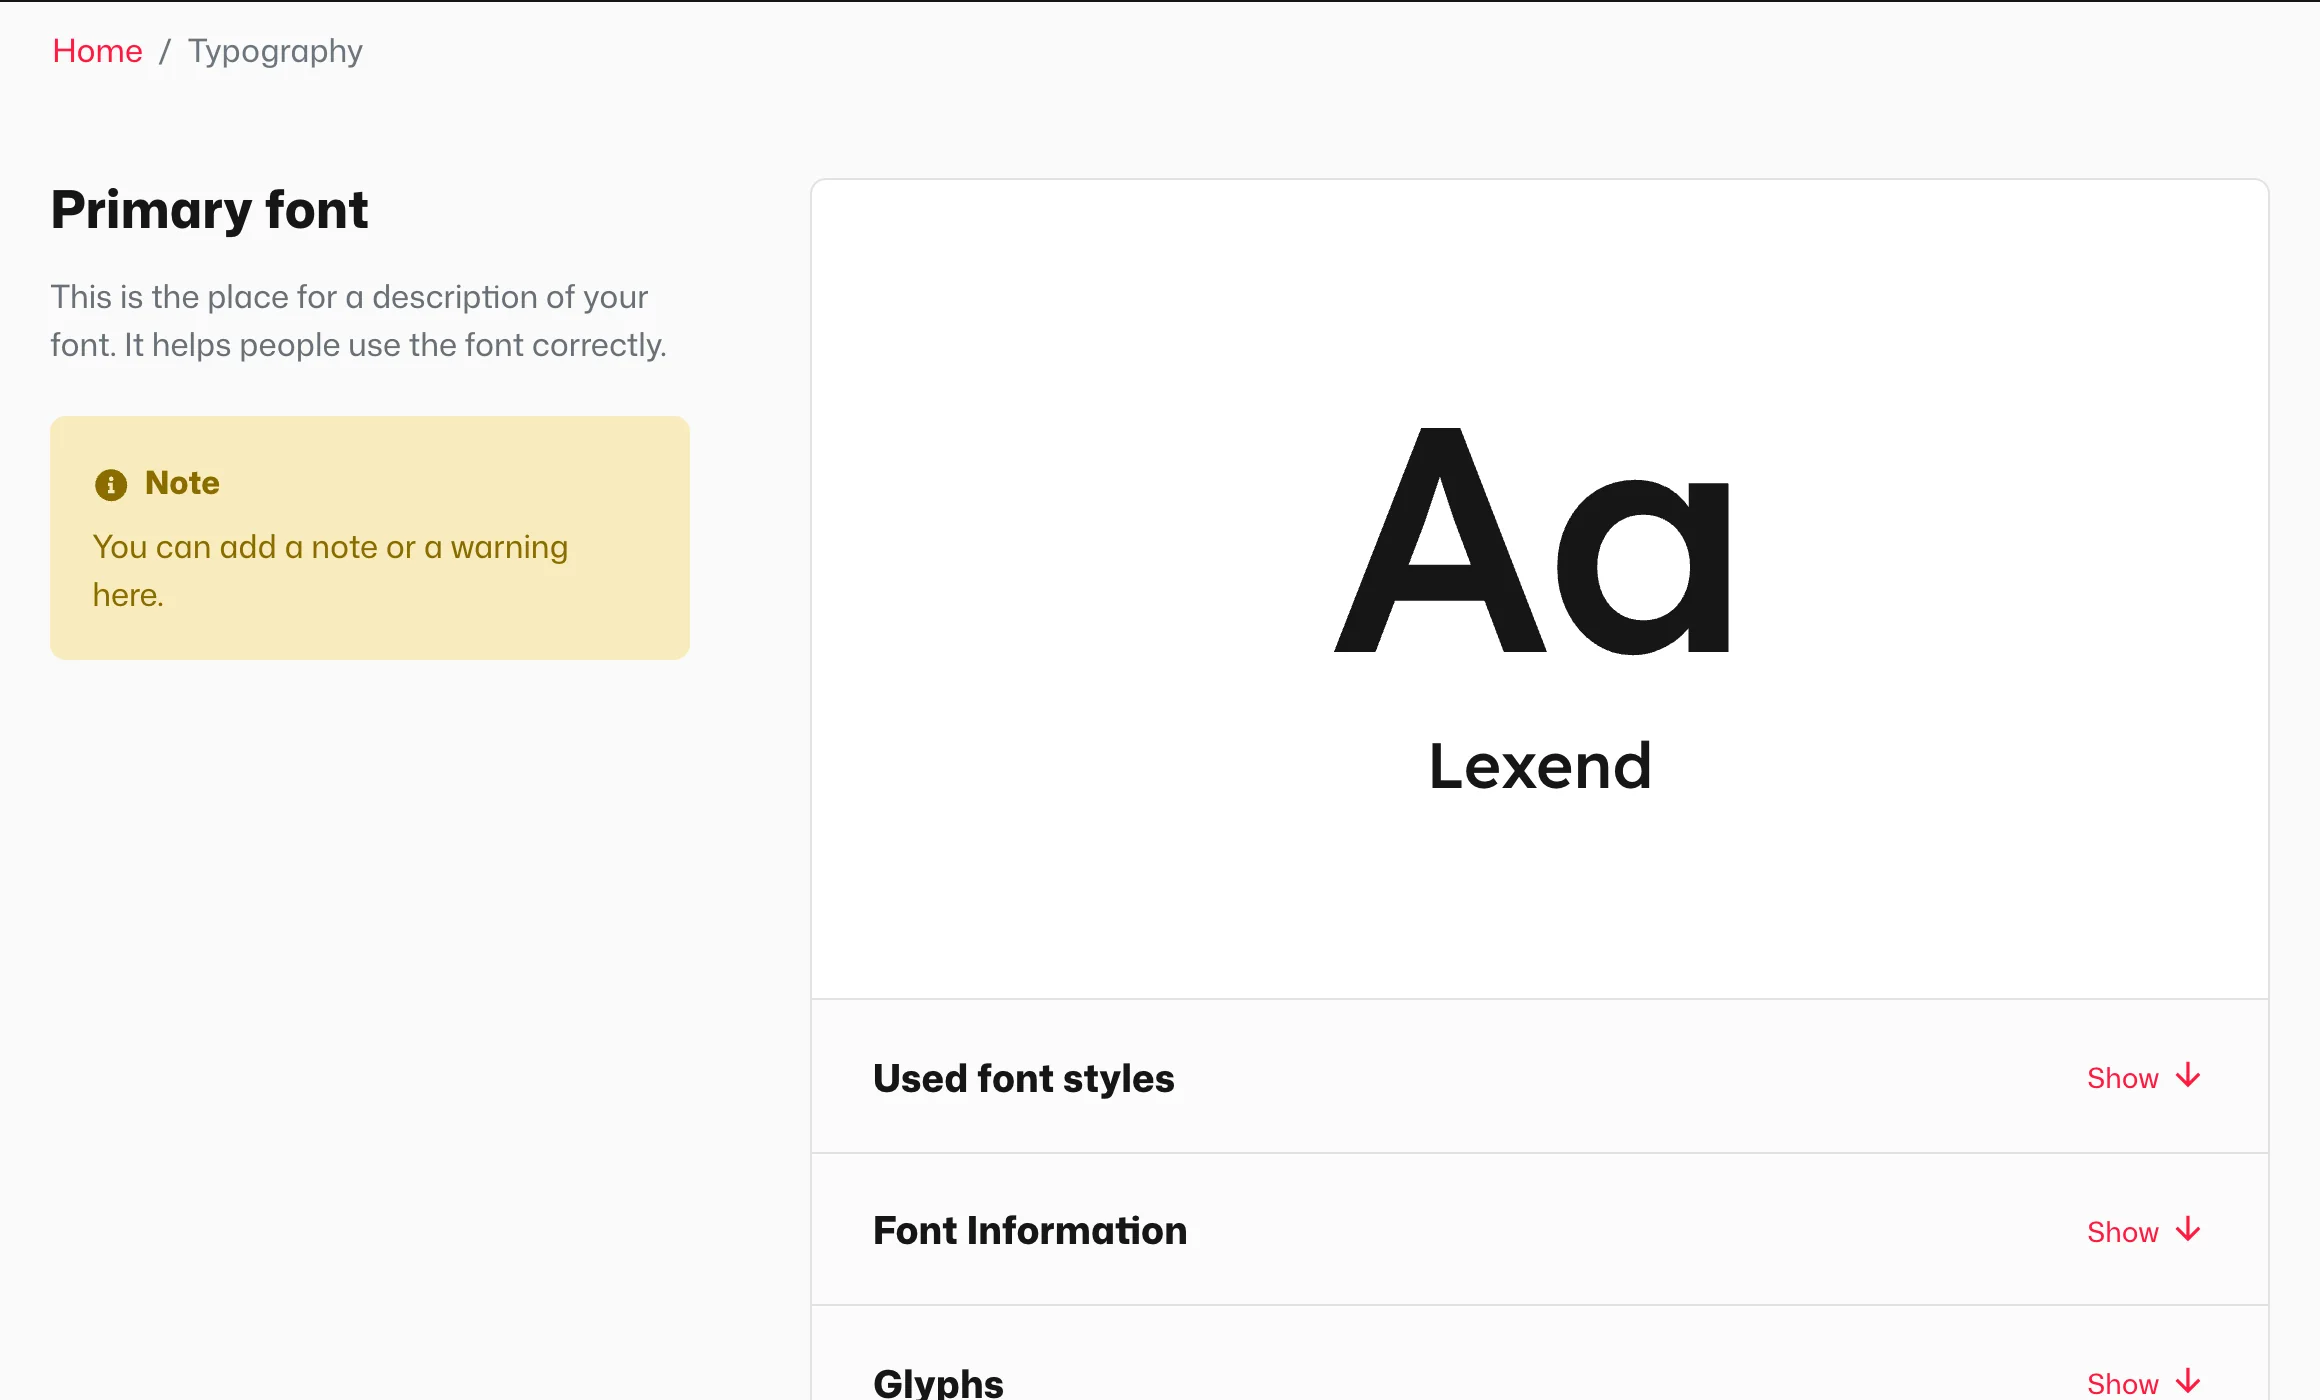
What you will have
Each brand typeface gets its own section on the Fonts page. Visitors can look at it, try it on their own text and, if you allow it, download it.
Steps
Add a Font section
In the panel, open the page of type Typography. In Sections on this page, click Add new section, enter a name such as “Inter”, and choose the Font section in the Font category. Add one section per brand typeface.
Name the font’s role
In Font type, enter what the typeface is for, for example “Primary typeface” or “Secondary typeface”. You can add a short text in Description in the left column.
Pick the font file
Click Select or upload a font for preview. The picker has two tabs: Uploaded files (for TTF, OTF or WOFF files) and Adobe Fonts (styles from the connected web project). TTF or OTF works best for the preview.
Choose what visitors see
Under Preview display, keep Representative characters (two at most, “Aa” by default), or upload your own image or Lottie animation. Then turn on the parts you want to show: Font info, Glyphs and Font tester. Turn on the Used font styles switch and, in the field of the same name that appears below it, tick the styles the brand uses, for example Regular (400) and Bold (700).
Save and publish the section
Save your changes. A section with the Draft status isn’t shown on the page; an Active one is.
How to tell it worked
Open the Fonts page in the manual. The font section shows the character sample, Font Information (family, style, language support, OpenType features), the Glyphs overview with a Character set picker, the Font Tester and the download button.
Connecting fonts from Adobe Fonts
- In Adobe Fonts, open your web project and copy its Project ID (for example
hkr4wmt). - In the panel, open Design → Fonts and paste the ID into Adobe Fonts: Project ID.
- Save your changes. Visualbook loads the project and lists the Loaded font families with their number of styles and supported languages. From then on, the styles are on the Adobe Fonts tab of every font picker.
- When you change the project in Adobe Fonts, click Reload in Design.
- Fonts from Adobe Fonts can’t be offered for download and aren’t part of backups or exports – they always load from Adobe’s servers. A Link button can still send visitors straight to the font on Adobe Fonts.
The Fonts page vs. the manual’s fonts
| Where | What it affects |
|---|---|
| The Typography page, Font section | What visitors see about the brand typeface and what they can download. |
| Design → Fonts | Which typeface sets the headings and body text of the whole manual. |
You’ll usually use the same typeface in both places, but each is set separately. See Manual design.
OpenType features in the font sample
On upload, Visualbook detects which OpenType features the font supports – ligatures, small caps, tabular figures or stylistic sets. You can then turn them on for the sample in Typography settings for font preview. The list offers only the features the font really has, plus All Caps.
Alternate font and usage table
Below the sections of the Fonts page are two optional parts. Each is turned on with a switch of the same name; only then do its fields appear:
- Alternate font – a system font for cases where the brand typeface can’t be used, such as email. Fill in Font for PC (for example Arial) and Font for Mac (for example Helvetica).
- Font usage – a table showing which typeface is used where: Web design, Mobile application, Shared online documents, Offline documents, Marketing materials, Emails. Useful mainly where the font licence determines usage.